Holiday magic includes twinkling lights, warm evenings by the fire, and the satisfaction of making something lovely by hand. DIY Christmas ornaments made with wet transfers might be just what you need if you're looking for a way to personalize your Christmas decorations this year. This craft method gives you the satisfaction of making your own decorations while producing polished results that will make your friends wonder where you got them.
Whether you are a powerful crafter or just an inexperienced friend of the Craftsman, wet transfer Christmas ornaments are perfect for you and the recession creates your own holiday tradition. In this guide, we’ll take you through everything you need to know to make ornaments that are so beautiful and striking that they will become cherished bits of your family’s holiday traditions for decades to come.
What Are Wet Transfers and Why They're Perfect for Christmas Ornament Making
Wet transfers, sometimes referred to as water slide decals, are thin films with printed designs that, when activated with water, can be applied to a variety of surfaces. These adaptable crafting supplies, which were initially created for model-making and ceramics, have made their way into the realm of DIY Christmas ornaments, and for good reason.
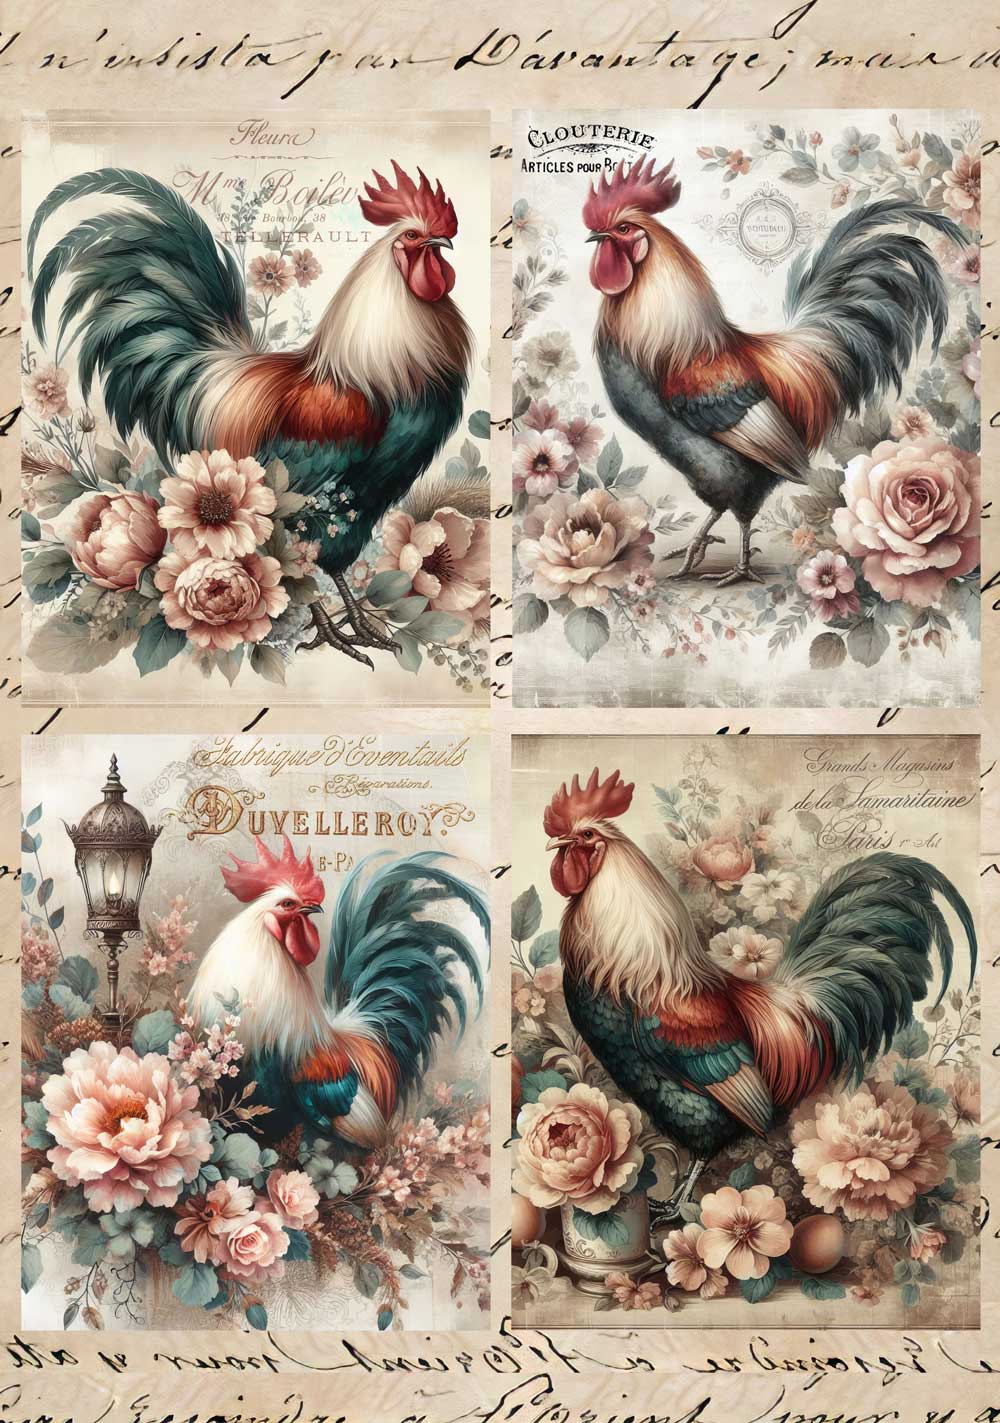
Making Christmas ornaments with wet transfers is beautiful because it allows you to create detailed, intricate designs that are almost impossible to accomplish with paint or other conventional decorating techniques. Think of delicate snowflakes, old-fashioned Christmas scenes, or sophisticated typography adding vivid colors and clean, distinct lines to your ornaments.
When shopping for beautiful and detailed wet transfers for Christmas projects, European Excellency offers a stunning selection perfect for both beginners and experienced crafters alike.
The Advantages of Wet Transfer Ornaments
When it comes to easy holiday crafts, wet transfers offer several compelling benefits that make them ideal for ornament making:
- Professional look: The end results are polished and looking store bought—the perfect gift even for beginners
- Intricate designs: Complex patterns and delicate details easily transfer
- Time saving: A lot quicker than hand-painting complex patterns
- Same results: Every piece can be the same and perfect copies of the pattern equally placed.
-
Wide range of applications: Many Christmas patterns and styles can be selected
The process is quite easy and that’s why you can make it whatever level of skills you are at. While there are some crafting techniques that take years to perfect, wet transfers can yield beautiful results on your very first try.
Essential Supplies for Your Wet Transfer Christmas Ornament Project
Before diving into your DIY Christmas ornaments project, gathering the right supplies will ensure smooth crafting and beautiful results. The good news is that most of these materials are readily available and won't break the bank.
Basic Materials You'll Need
- Ornament Bases: Clear glass or plastic ornaments work best for wet transfers. Glass provides the most professional finish, while plastic offers safety advantages, especially if children will be helping with the project. Round ornaments are easiest for beginners, but don't hesitate to experiment with different shapes as you gain confidence.
- Wet Transfer Sheets: These are available in a variety of Christmas designs, ranging from contemporary geometric patterns to classic holly and berries. Choose transfers made especially for curved surfaces because they will fit ornament shapes more easily.
-
Application Tools: You'll need a small bowl for water, lint-free drying cloths, tweezers for delicate transfers, and soft brushes for smoothing. For cutting transfers to size, you might also want a craft knife.
For quality designs and easy application, European Excellency provides beautifully printed wet transfer collections ideal for Christmas ornaments.
Preparing Your Workspace
Setting up an organized workspace makes the entire process more enjoyable and helps prevent mistakes. Choose a well-lit area where you can spread out comfortably. Cover your work surface with a plastic tablecloth or craft mat to protect it from water and prevent transfers from sticking to unintended surfaces.
Having everything within easy reach is crucial when working with wet transfers, as timing can be important once the transfer is activated. Arrange your supplies in the order you'll use them, and keep a stack of paper towels handy for quick cleanup.
Step-by-Step Guide to Creating Your Wet Transfer Ornaments
Creating beautiful DIY Christmas ornaments with wet transfers is a process that becomes more intuitive with each ornament you make. Let's break it down into manageable steps that will help you achieve professional-looking results every time.
-
Preparing Your Ornaments: Make sure all of the surfaces of your ornaments are dry and spotless first. Proper adhesion may be hindered by even minute particles of dust or oils from handling. Glass ornaments should be thoroughly cleaned using a lint-free cloth and a tiny bit of rubbing alcohol. Water and mild soap work well for plastic ornaments; just make sure they are completely dry.
Remove any ornament caps or hangers that might get in the way during the decorating process. This also makes it easier to handle the ornament while applying transfers.
-
Activating and Applying Wet Transfers:Fill a small bowl with room temperature water – not too hot, as this can cause the transfer to curl or tear. Carefully cut out your chosen design, leaving a small border around the edges. This extra material gives you something to grip and helps prevent accidental tearing.
Soak the transfer in water as per the hologram’s directions, typically 10–30 seconds. You’ll be able to tell it’s ready when the design starts gliding along the backing paper. This is where patience is rewarded—if you rush this step you will get torn or damaged transfers.
-
The Transfer Process:Gently slide the design off its backing paper and onto your ornament. The wet transfer will be delicate at this stage, so work slowly and deliberately. Position it where you want it, then use a soft brush or your finger to smooth out any air bubbles, working from the center outward.
Don't worry if the positioning isn't perfect immediately – you have a few moments to adjust before the transfer begins to set. Once you're satisfied with the placement, use a clean, dry cloth to gently press out excess water and ensure good contact with the ornament surface.
Design Ideas and Creative Inspiration for Your Holiday Crafts
The world of wet transfer designs offers endless possibilities for your DIY Christmas ornaments. From classic holiday motifs to contemporary patterns, there's something to match every decorating style and personal preference.
When looking for inspiration, European Excellency carries a variety of Christmas-themed wet transfers – from vintage motifs to modern winter designs – perfect for creating your unique holiday style.
-
Traditional Christmas Themes: Old habits die hard but wet transfers excel at reproducing the complex design cues that make cliché Christmas so charming. Think classy holly and ivy designs, beautifully wrapping around the curves of ornaments; or those old school-style Santa Claus compositions for sentimental holiday feels.
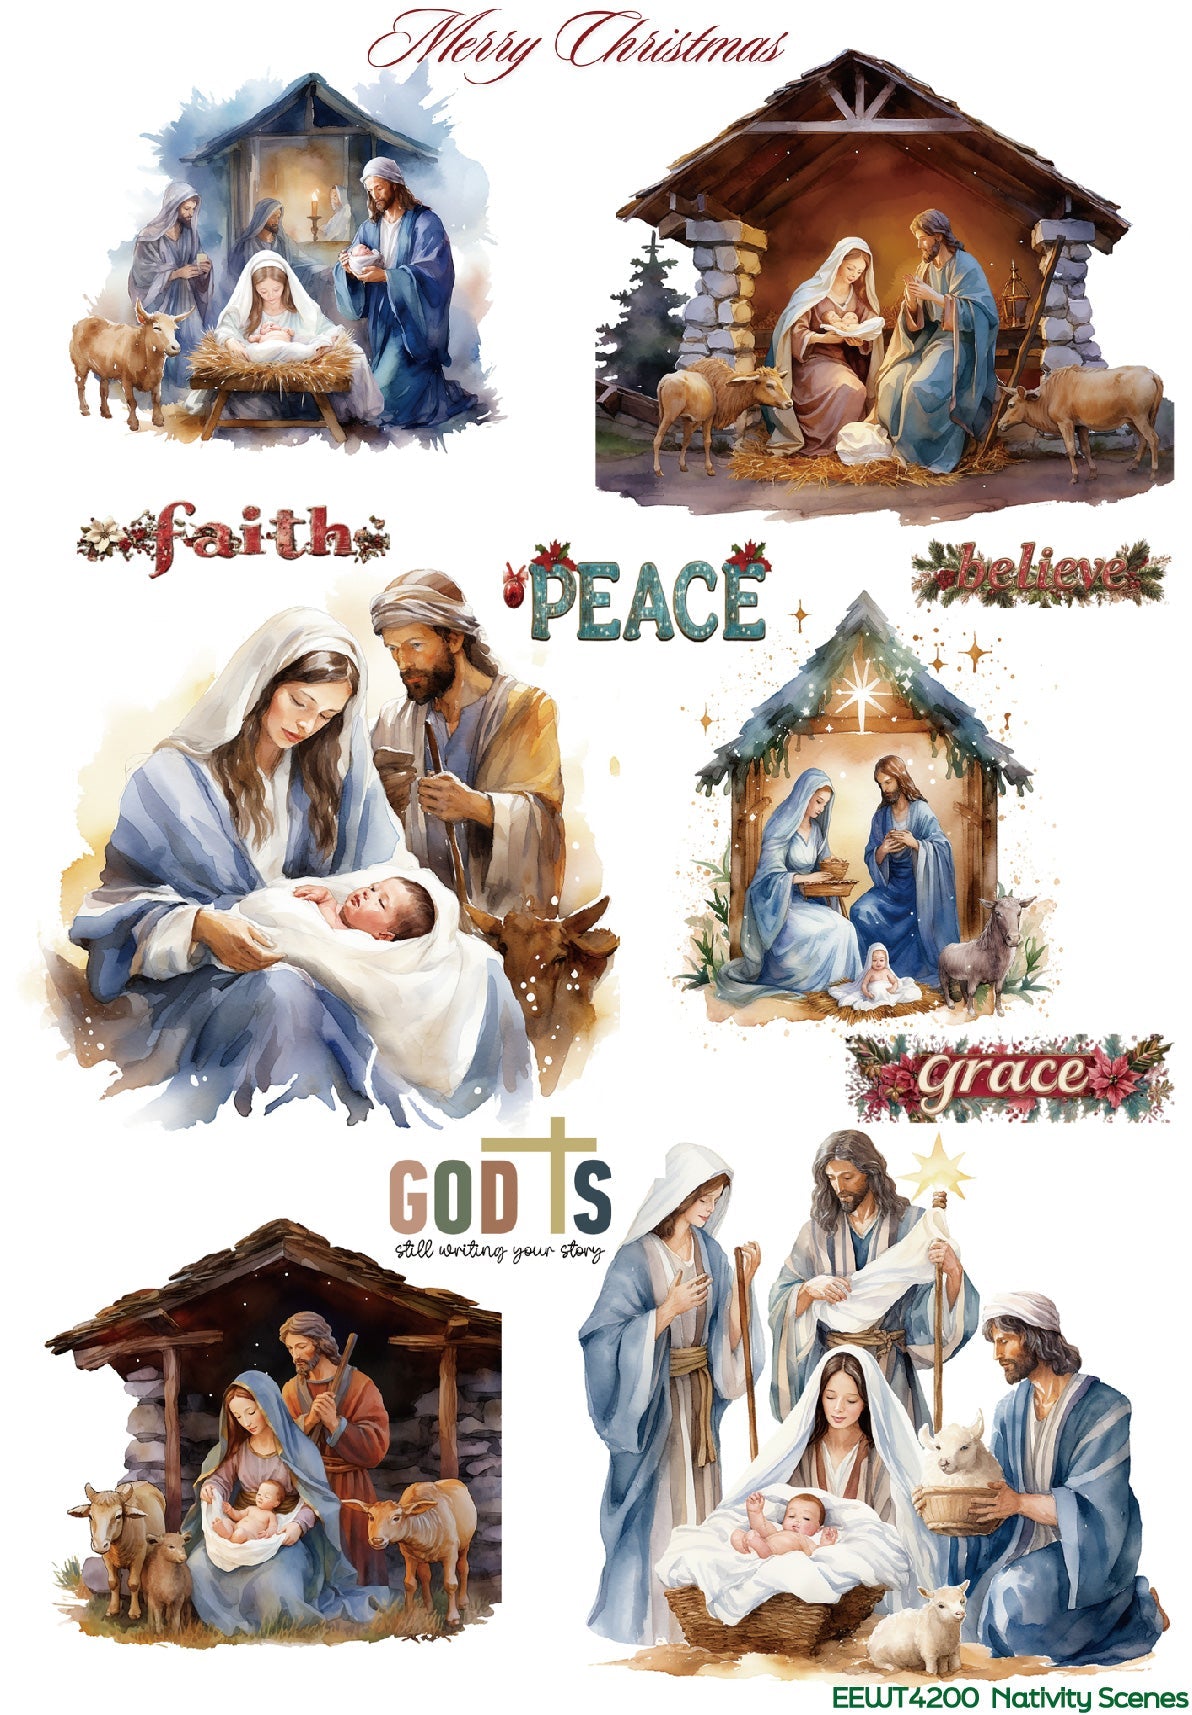
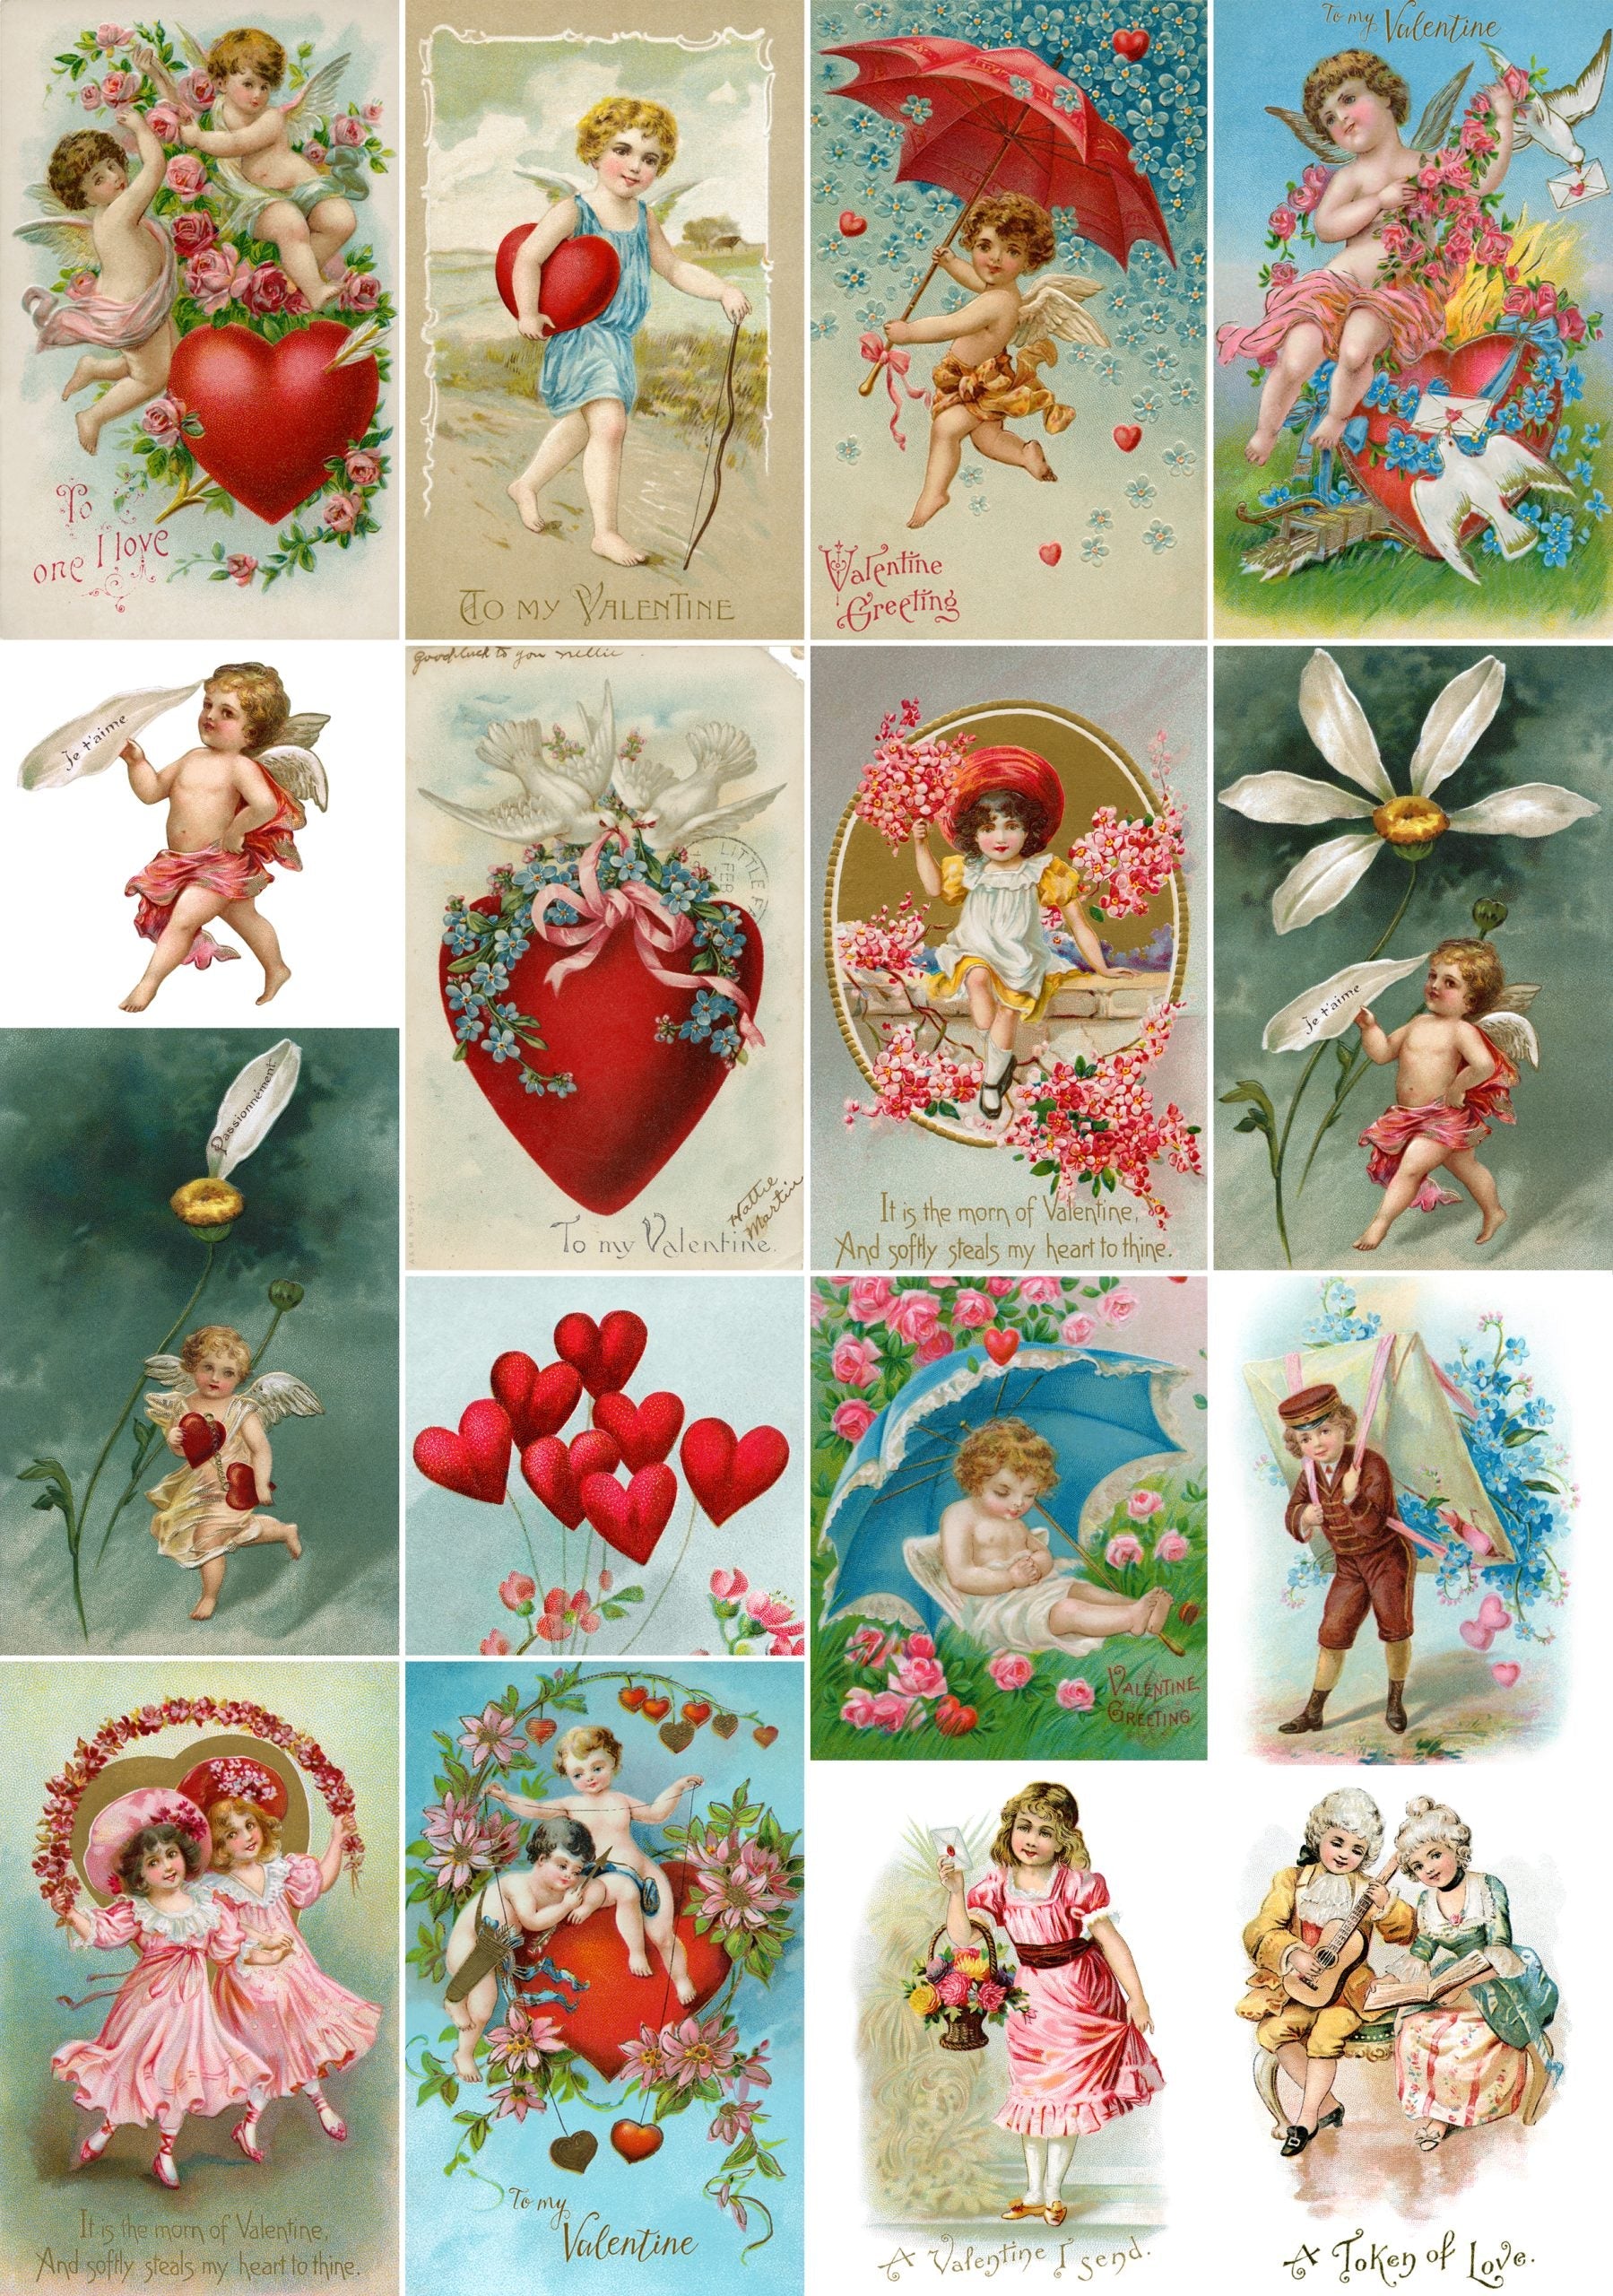
Snowflake patterns are particularly striking on clear ornaments, giving the impression of a glassy icicle. Religious motifs, such as nativities and angels translate beautifully into ornaments for families who observe the more religious side of Christmas.
-
Modern and Contemporary Options: For those who prefer a more current aesthetic, wet transfers offer plenty of modern design options. Geometric patterns in metallic finishes create sophisticated ornaments that complement contemporary holiday decorating schemes. Those who value subtle elegance are drawn to minimalist designs with crisp lines and straightforward color schemes.
Ornaments feel genuinely unique when typography-based transfers with family names or holiday phrases are added. Think about utilizing these for ornaments that will be presented as gifts; just picture the joy of getting an ornament that has been customized just for you.
-
Creating Theme Collections: One of the most satisfying aspects of Christmas ornament making is developing cohesive collections that tell a story or follow a theme. You might create a set featuring different winter wildlife, various snowflake patterns, or a progression of Christmas tree designs.
Family-themed collections work wonderfully for households with children or grandchildren. Create ornaments representing each family member's interests or hobbies, using wet transfers to add detailed elements that would be difficult to paint by hand.
Troubleshooting Common Challenges in Wet Transfer Ornament Making
Working with wet transfers on ornaments can present certain difficulties, even with meticulous planning and attention to detail. Being aware of typical problems and how to solve them will help you stay confident and produce better outcomes.
In order to practice and refine your technique before applying your main designs, European Excellency advises testing a small transfer on a spare ornament first.
-
Dealing with Air Bubbles: Air bubbles are probably the most common issue when applying wet transfers to curved surfaces like ornaments. Small bubbles can often be smoothed out with gentle pressure from a soft brush or your finger. For larger bubbles, try lifting the edge of the transfer slightly and smoothing from the center outward again.
If bubbles persist, a tiny pinprick with a fine needle can release trapped air. Make the hole as small as possible and smooth the transfer down immediately. This technique requires a light touch, but it's often the best solution for stubborn bubbles.
-
Transfer Tearing or Breaking: Wet transfers become quite delicate when activated, and tears can happen even with careful handling. If you notice a small tear developing, stop moving the transfer immediately and try to smooth it down in its current position. Often, minor tears become nearly invisible once the transfer dries completely.
For larger tears or breaks, you might be able to salvage the project by treating it as an intentional distressed look, or by strategically placing additional small design elements to cover the damaged area.
-
Adhesion Problems: Sometimes transfers don't want to stick properly to ornament surfaces. This usually indicates that the surface wasn't clean enough or that the transfer wasn't activated sufficiently. If you catch adhesion problems early, you can often reactivate the transfer with a small amount of additional water applied with a brush.
For future ornaments, pay extra attention to surface preparation and ensure transfers are properly activated before application. A perfectly clean surface is crucial for good adhesion.
Finishing Touches and Protective Measures
Once your wet transfers are applied and dried, a few finishing steps will ensure your DIY Christmas ornaments look their best and last for many holiday seasons to come.
For the perfect final touch, European Excellency suggests using a clear matte or gloss sealer to enhance both protection and appearance.
-
Sealing Your Work: Applying a clear protective coating can help preserve your transfers and give your ornaments more durability, though it's not always required. Select a sealer that works well with both the transfer adhesive and the ornament material. Delicate transfer details are less likely to be disturbed by spray sealers, which frequently offer the most uniform coverage.
Apply sealer in light, even coats, allowing each layer to dry completely before adding the next. Two thin coats typically provide better protection than one thick application and are less likely to cause drips or uneven coverage.
-
Adding Final Decorative Elements: Wet transfers can serve as the foundation for more elaborate ornament designs. Consider adding glitter accents around transfer edges, or use dimensional paint to highlight certain elements. Small rhinestones or beads can add sparkle and texture that complements the flat transfer design.
When adding additional elements, less is often more. The beauty of wet transfer ornaments lies in their clean, professional appearance, so additional decorations should enhance rather than overwhelm the original design.
-
Storage and Care for Long-Lasting Beauty: Proper storage ensures your handmade ornaments will bring joy for many Christmases to come. Treat your DIY Christmas ornaments with the same care you'd give expensive store-bought decorations.
Individual storage boxes or compartments prevent ornaments from knocking against each other during storage. Soft tissue paper or bubble wrap provides cushioning, while avoiding materials that might stick to or react with your transfers.
Store ornaments in a cool, dry place away from direct sunlight, which can fade transfers over time. Attics and basements might experience temperature extremes that could damage delicate decorations, so consider indoor storage areas when possible.
Building Holiday Traditions Through Crafting
More than just lovely decorations, making your own DIY Christmas ornaments with wet transfers is a chance to create enduring holiday customs and memories. Making ornaments together becomes a yearly ritual for many families, bringing generations together at the craft table. European Excellency encourages families to embrace this creative tradition, making every holiday season a little more personal, meaningful, and joy-filled.
The satisfaction of hanging ornaments you've created yourself, watching them catch the light on your Christmas tree, and sharing them with loved ones makes every moment spent crafting worthwhile. Easy holiday crafts like wet transfer ornaments prove that the most beautiful decorations often come not from expensive stores, but from the loving work of our own hands.
Wet transfer Christmas ornament making offers the ideal balance of creativity, attainable results, and holiday magic that will enhance your celebrations for years to come, whether you decide to make a single special ornament or embark on creating decorations for an entire tree.

